
Non categorizzato
Moto Guzzi V7 Valve Adjustment: Clearance Check Workflow
May
Moto Guzzi V7 valve adjustment is one of the most searched service tasks for air-cooled V7 owners because valve clearance affects cold starting, idle quality, ticking noise, hot running behavior and long-term engine health. Search Console showed Google testing the forum thread Moto Guzzi V7 850 tuning for this valve-adjustment query, so this guide gives the intent a clearer diagnostic destination.
This is a training and diagnostic workflow, not a replacement for the correct model-year service manual. V7 Classic, V7 II, V7 III and V7 850 variants can differ in details, so always confirm the exact specifications and torque values for the motorcycle in front of you before loosening anything.
Symptoms that point to valve clearance checks
- Hard cold start: especially when battery and ignition checks are already good.
- Rough idle or uneven idle rhythm: one cylinder may feel different from the other.
- Excessive ticking: some mechanical sound is normal on an air-cooled pushrod twin, but sudden change matters.
- Hot restart complaints: clearance that changes with heat can reveal a marginal setup.
- Service interval due: valve clearance is a scheduled inspection item, not only a fault repair.
Before opening the valve covers
Do not adjust valves to chase a problem blindly. First confirm the basics: battery voltage, charging health, clean air filter, correct idle behavior, fresh fuel, no intake leaks, no obvious exhaust leak near the head and no stored ECU fault that changes fueling or ignition. A valve check is powerful because it gives evidence, but it should sit inside a wider diagnostic routine.
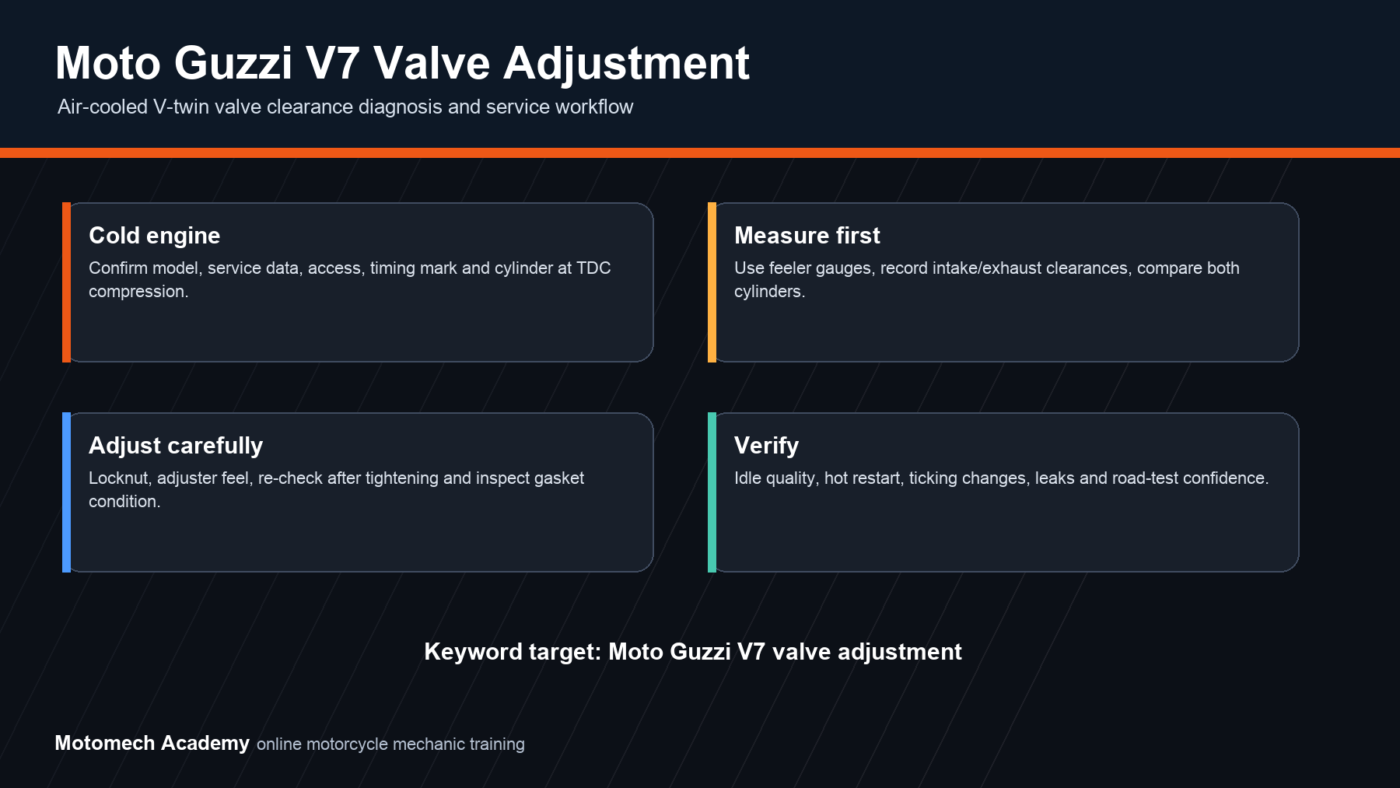
Cold-engine workflow
- Identify the exact V7 model and engine variant.
- Get the official service data for valve clearance, torque and gasket procedure.
- Work on a fully cold engine unless the service data says otherwise.
- Remove only what is needed for access and keep dirt away from the cylinder head area.
- Bring the cylinder being checked to top dead center on the compression stroke.
- Measure intake and exhaust clearance with feeler gauges before adjusting anything.
- Record both cylinders separately so you can compare side-to-side behavior.
- If adjustment is needed, loosen the locknut, make a small change, tighten and re-check.
- Inspect valve cover gasket condition and sealing surfaces before reassembly.
- After startup, check for oil leaks, idle change, abnormal noise and hot restart behavior.
Common mistakes
- Checking the wrong stroke: top dead center on overlap is not the same as compression.
- Using a generic clearance from another V7 generation without verifying model data.
- Not re-checking clearance after tightening the locknut.
- Overtightening covers or reusing a damaged gasket, causing oil seepage.
- Ignoring battery, ignition or fueling faults that mimic valve-clearance symptoms.
How this fits tuning
A V7 tuning plan should start with a healthy baseline. Intake, exhaust or fueling changes make less sense if valve clearance is unknown, one cylinder is out of range or the bike already has a weak idle. Use valve adjustment as part of the foundation before judging performance parts.
Motomech related path
- Moto Guzzi V7 tuning kit checklist
- Motorcycle tuning guides
- Motorcycle troubleshooting guides
- Motorcycle diagnostics course
- Motorcycle mechanic certification online


