
Motorcycle Electrical Diagnostics
Motorcycle Ignition System Troubleshooting: No-Spark and Weak-Spark Workflow
May
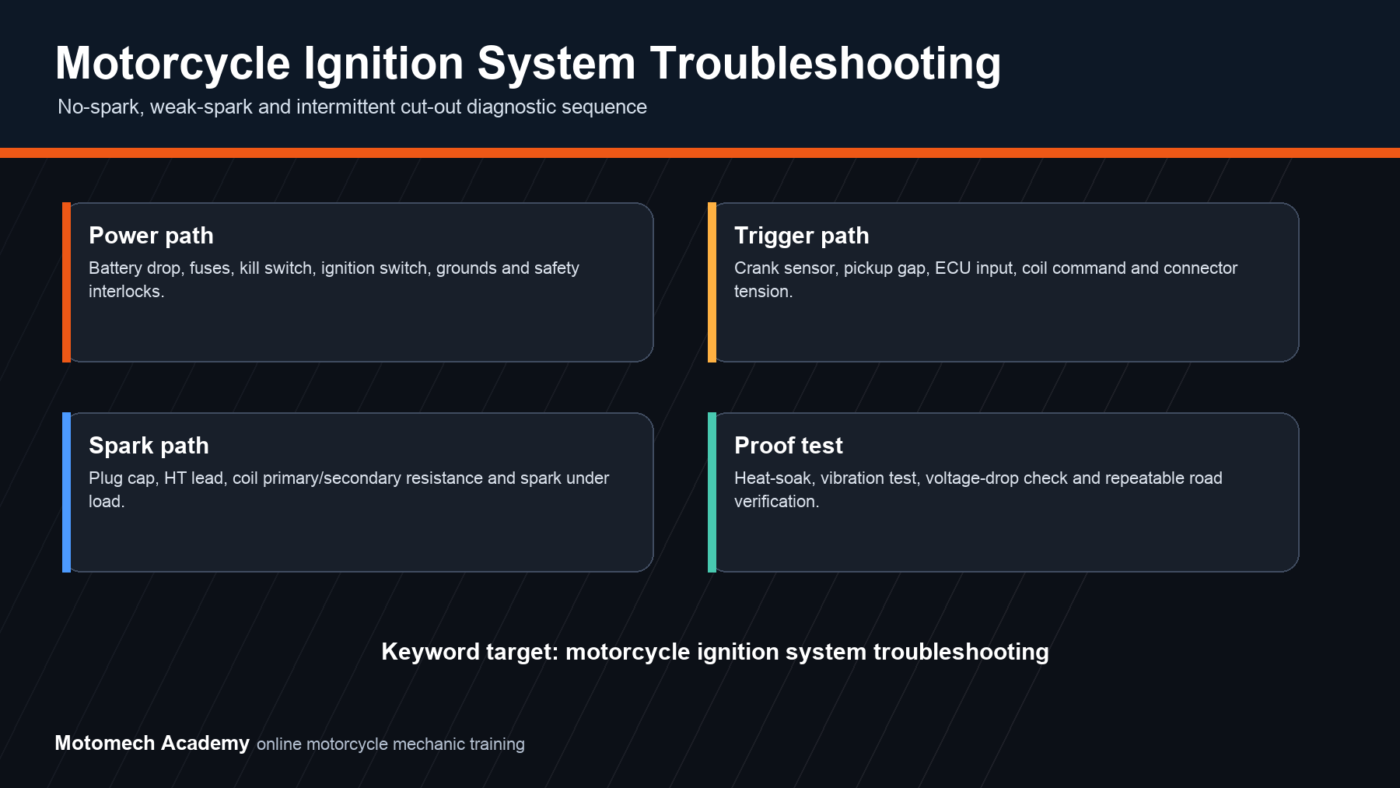
Motorcycle ignition system troubleshooting should follow a sequence, not a parts cannon. A no-spark, weak-spark or intermittent cut-out complaint can come from battery voltage, switches, safety interlocks, grounds, crank signal, ECU command, coil, plug cap, wiring or heat-related connector faults.
Start by defining the failure
Write down the exact symptom before testing. Does the starter crank normally? Is spark missing on every cylinder or only one? Does the bike start cold and die hot? Does it misfire only under load? A precise symptom prevents random replacement of coils, CDI/ECU units or sensors.
Step 1: prove the power path
Measure battery voltage at rest and during cranking. A battery can show acceptable static voltage and still collapse under starter load. Check main fuse, ignition fuse, kill switch, ignition switch, side-stand switch, clutch switch and engine stop circuit. Inspect grounds and battery terminals for voltage drop, not only visual tightness.
Step 2: inspect connectors and harness stress
Ignition faults often live in connectors. Look for loose pins, corrosion, water, overheated plastic, rubbed insulation, stretched harness sections near the steering head and poor aftermarket accessory wiring. Wiggle testing while watching spark or voltage can expose intermittent faults that static resistance checks miss.
Step 3: test the trigger path
The ignition system needs a timing signal. Depending on the motorcycle, this can involve a crankshaft position sensor, pickup coil, pulse generator or ECU input. Check sensor resistance only as a first filter; then confirm signal while cranking if the service data allows it. A weak trigger signal can create no spark even when the coil itself is healthy.
Step 4: test coil command and spark output
Before replacing an ignition coil, verify whether the coil is being commanded. Check primary power, switching/trigger side, plug cap resistance, high-tension lead condition and plug gap. Test spark under realistic conditions because a coil may jump a weak open-air spark but fail under compression or heat.
Step 5: separate ignition from fuel and compression
A motorcycle that cranks but will not start can look like an ignition issue when the real cause is fuel delivery, compression, valve clearance or an immobilizer condition. If spark is present and timed correctly, move into fuel, air and mechanical checks instead of continuing to replace electrical parts.
Heat and vibration failures
If the bike starts cold and fails after riding, repeat tests when hot. Heat can open a marginal crank sensor, coil winding, ECU solder joint or connector. If the fault appears on bumps or steering movement, focus on harness flex points and connector retention.
Repair verification
A repaired ignition fault should be verified with a cold start, hot restart, voltage-drop check, vibration/steering sweep and a safe road test. Document the failed value and the corrected value so the repair is more than a guess.
Related Motomech guides
- Motorcycle ignition coil symptoms and troubleshooting
- Motorcycle electrical troubleshooting guides
- Motorcycle regulator rectifier test
- Motorcycle starter solenoid repair
- Motorcycle diagnostics course
Source forum case
This guide was built from Search Console impressions on the forum topic motorcycle ignition coil failure signs, where Google was testing Motomech for broader ignition troubleshooting searches.


